(Note that I don’t receive any commissions for posts like this. This is just, like, my opinion, man. Nevertheless, please read my disclosure policy.)
For the longest time, the standard for an online savings account was a bank called ING Direct. It was free, offered a high interest rate, and allowed you to create multiple sub-accounts easily.
I signed up for an account there back in 2005. ING left the US market in 2011 and sold its portfolio to Capital One (under the name “Capital One 360“), so that’s what I have now.
I have no problems with Capital One 360 (or 360 Savings as they call it now). It doesn’t need to do much; I put money in periodically, and take money out infrequently. It offers a low interest rate of 0.75%, which is much better than with most banks.
That said, I’ve been hearing people talk more and more about Ally as being as good as (or superior to) Capital One 360. If nothing else, they currently offer a slightly higher interest rate. If I were signing up for my first bucket account today, my first instinct would probably be to use Ally.

So in the spirit of exploration, I signed up. And if you’ve been thinking that the best place to put your buckets is with an online savings account, the following is a comprehensive tutorial on how to do just that.
Create an account
If you’ve never used Ally before, you’ll need to create an account. There will be an Open Account link on the main page. Click it.
You’ll be sent to a form with several steps.
Step 1:, select I am a new customer and then click Next step.

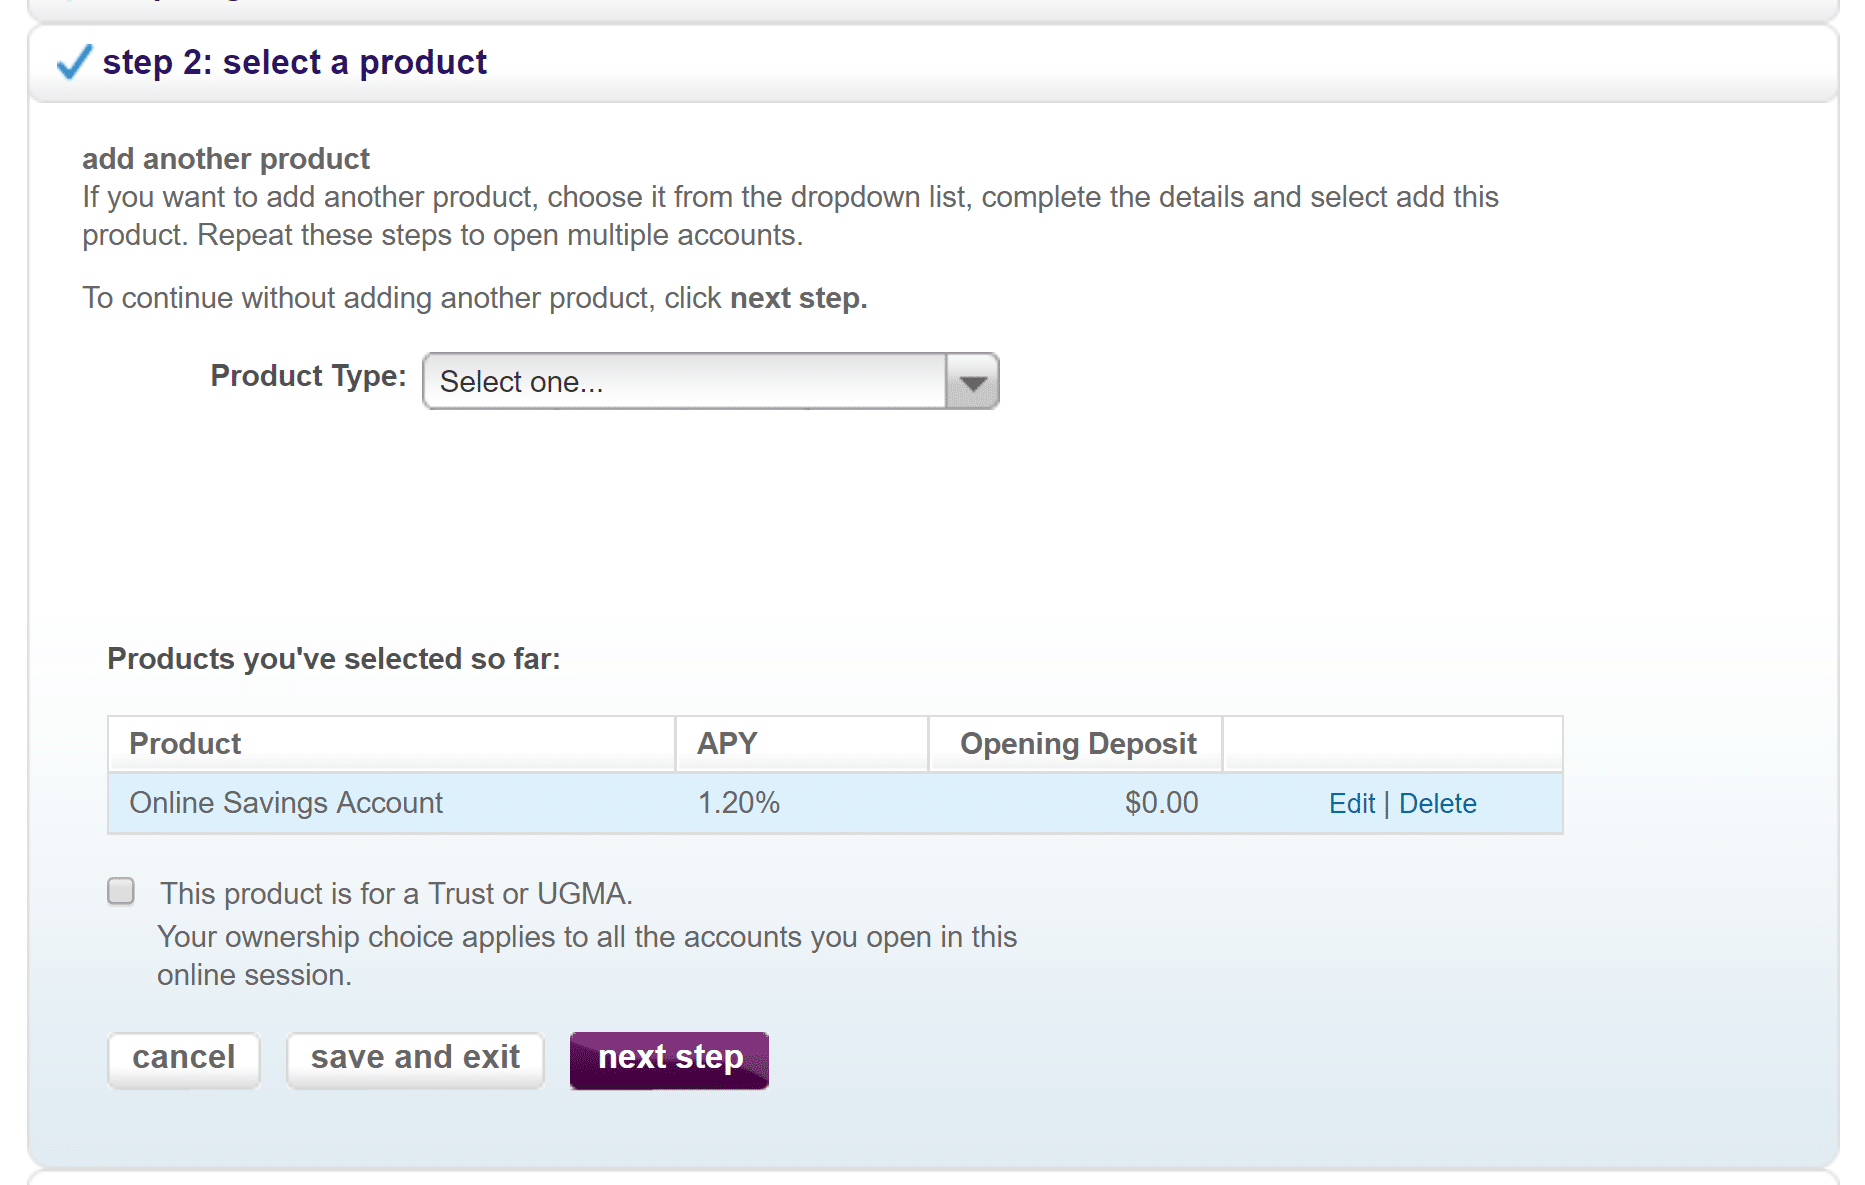
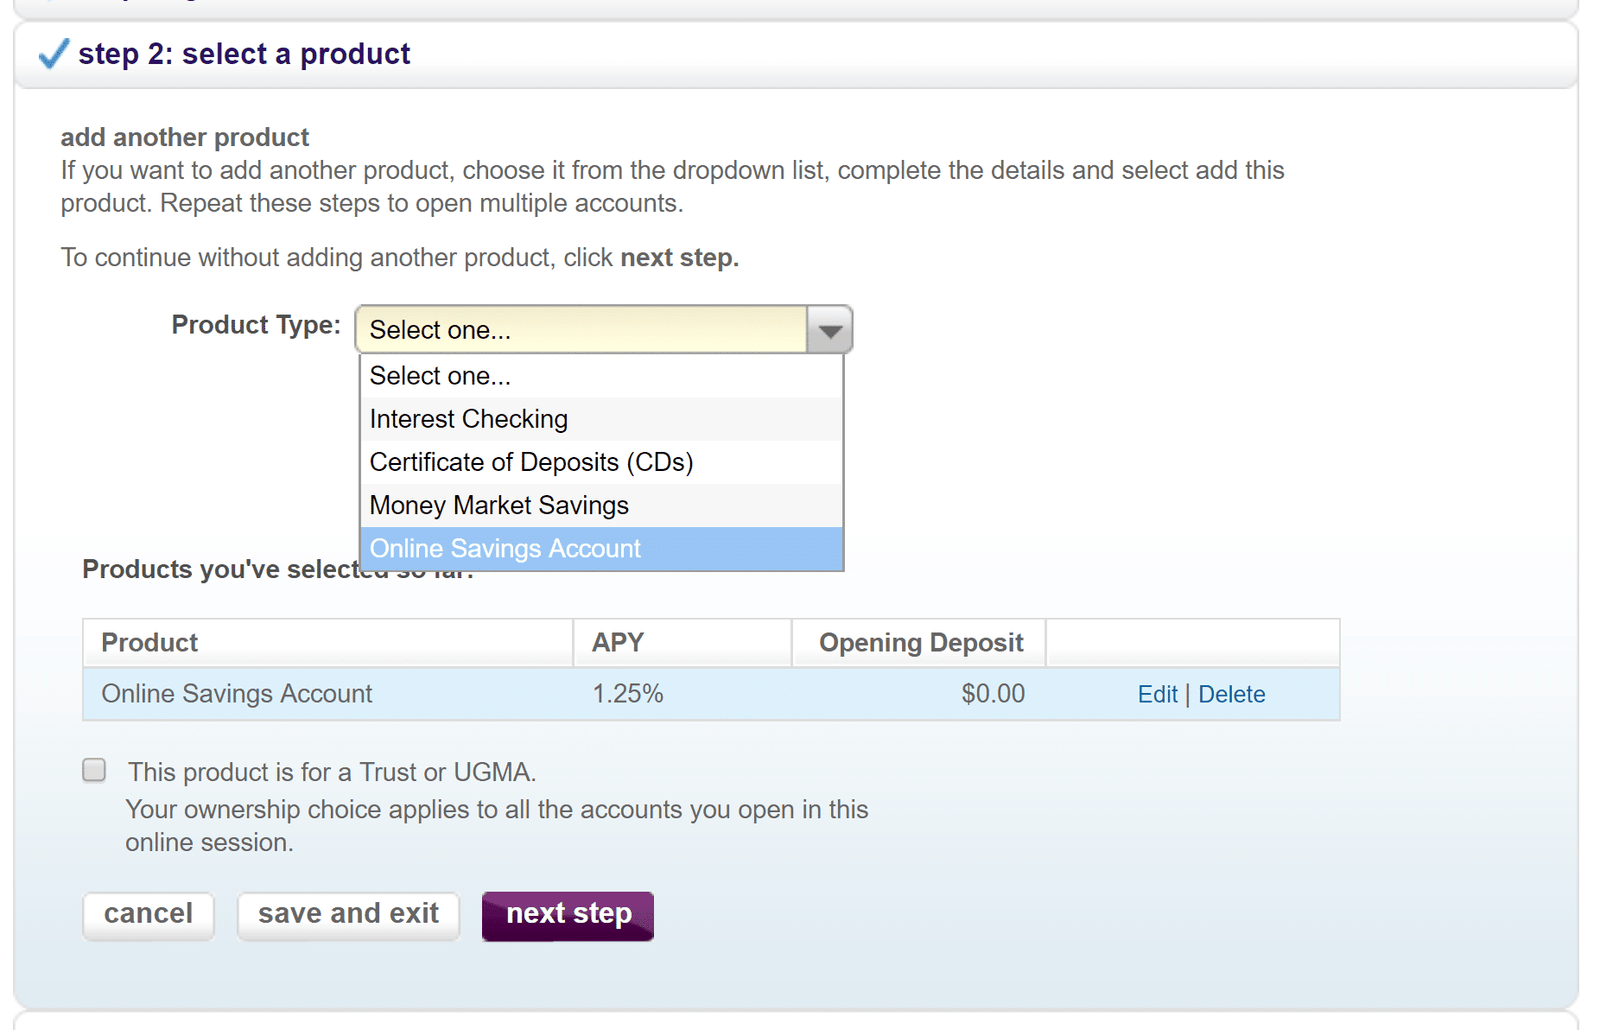
Step 2: Select Online Savings Account and enter the amount you wish to fund your account. When done, click Add this product.

Note that you can create multiple buckets with this account later, but let’s just start with just one for now, so click Next step.
Step 3: Select whether this is going to be an Individual or Joint account and click Continue.

You’ll need to enter information about each person associated with this account.

When done, click Finish and then Next step.
Step 4: Next you’ll need to click through a few agreements. Click Agree and Continue for each one.

When finished, click Submit Application.
You may then be asked to answer some questions related to your financial information, not unlike what you go through when getting your annual credit report.

When done, click Submit.
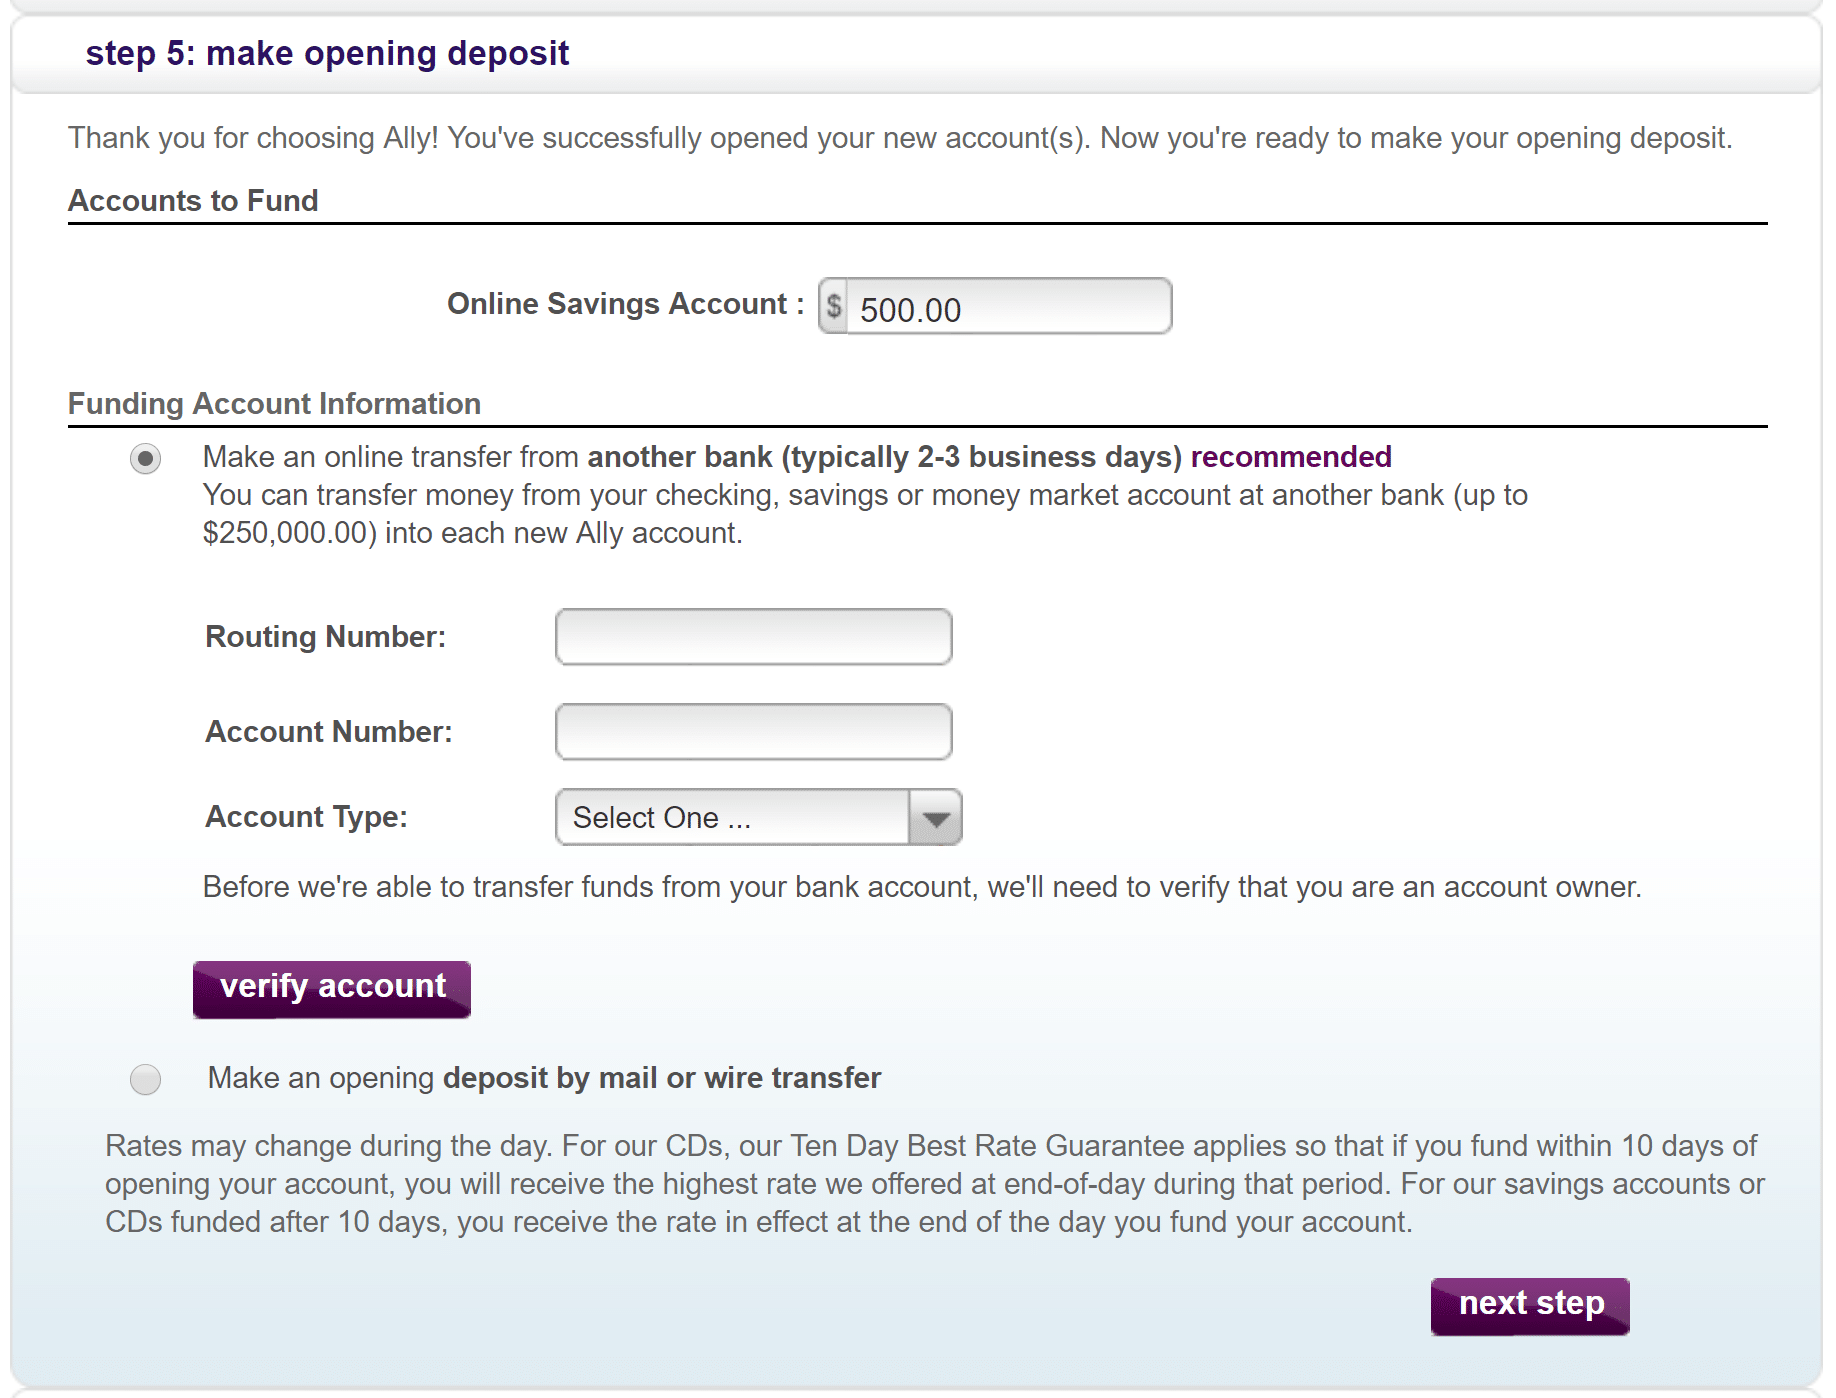
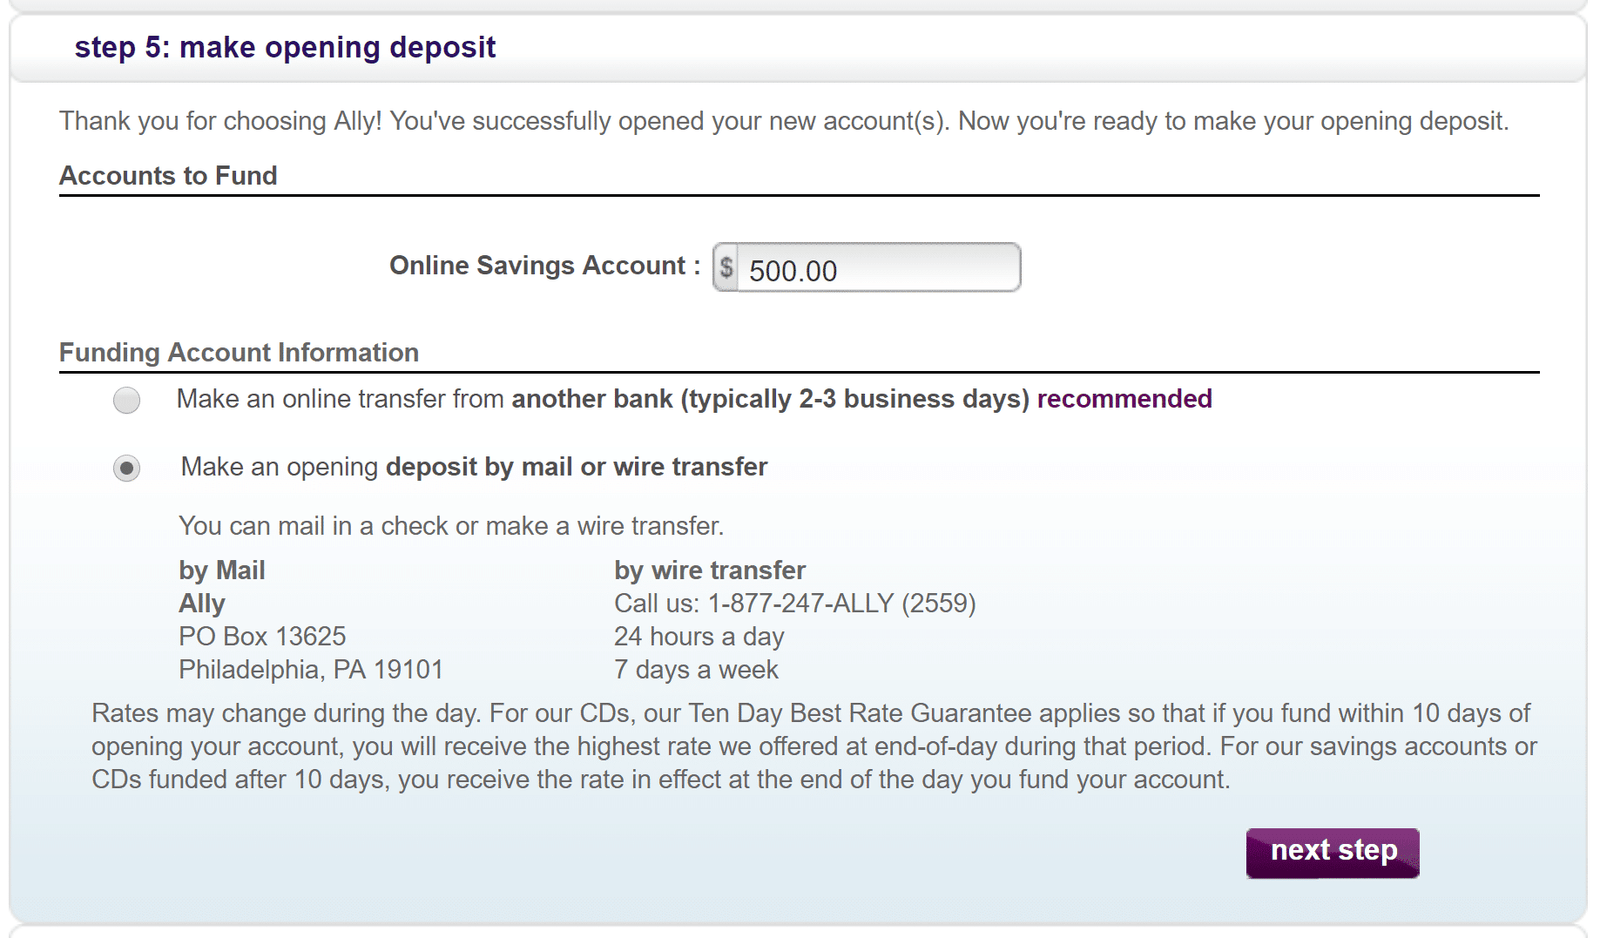
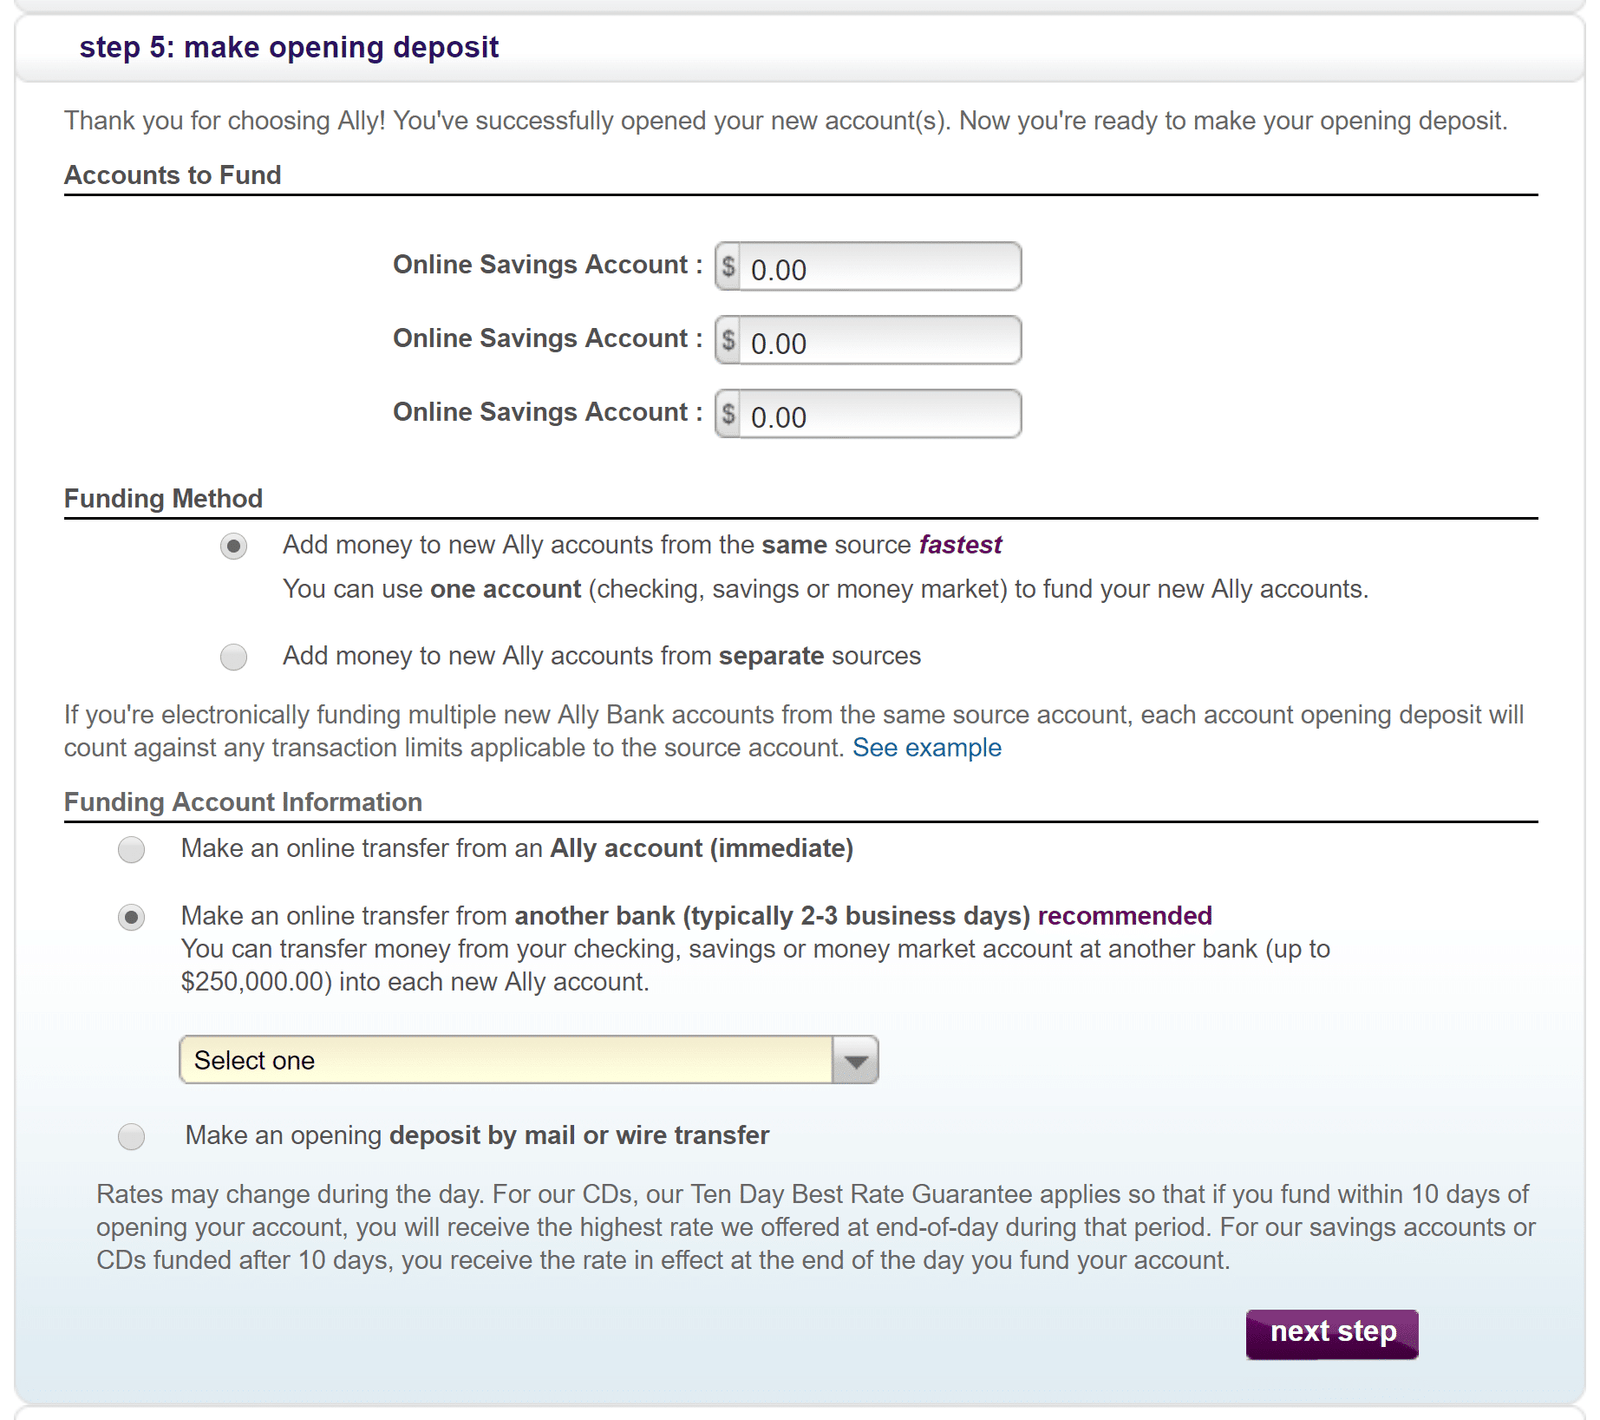
Step 5: You can now make your opening deposit, wither electronically from your checking account, or by mail.
If you enter your account information, you’ll need to go through the process of verifying your account. If you don’t wish to make an opening deposit right now, you can select the by mail option, and you can add your bank account information later. (Though don’t forget about making an initial deposit, because if you don’t fund your account, they’ll eventually close your account.)
Step 6: Create a user name and password.
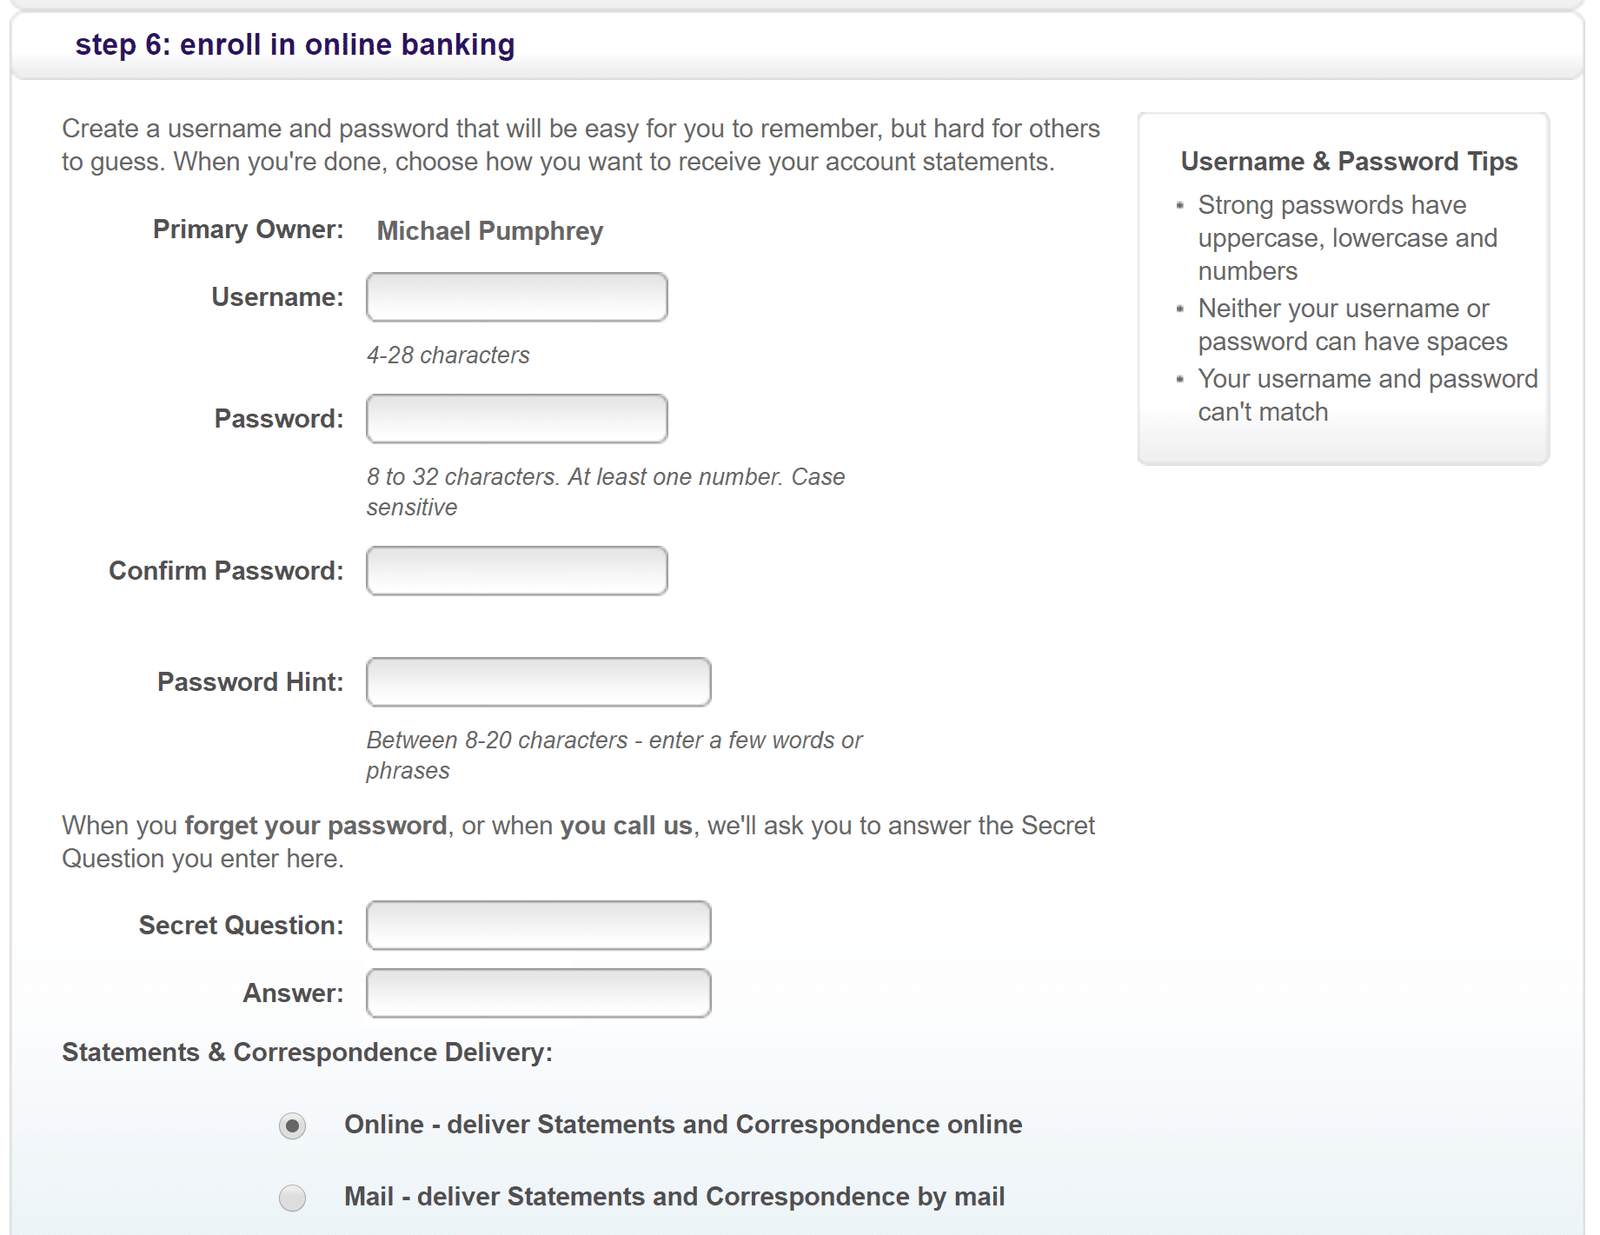
And that’s it! You’ve now created an account with Ally. You can now log in to your account.
Creating multiple buckets
I was going to leave it there, but you probably want more than one bucket. You probably have lots of things you want to save for: Travel, Car, Pets, Medical, Furniture, and a more, not to mention your emergency fund.
So let’s create another account.
Unfortunately, the process of creating another account is not straightforward. With Capital One 360, it’s a simple link in the interface, but with Ally, you have to go through a whole process, which is really confusing.
Nevertheless, this is how you do it.
First log into your account. You’ll see a menu bar at the top. Click Accounts and select Open an Account.
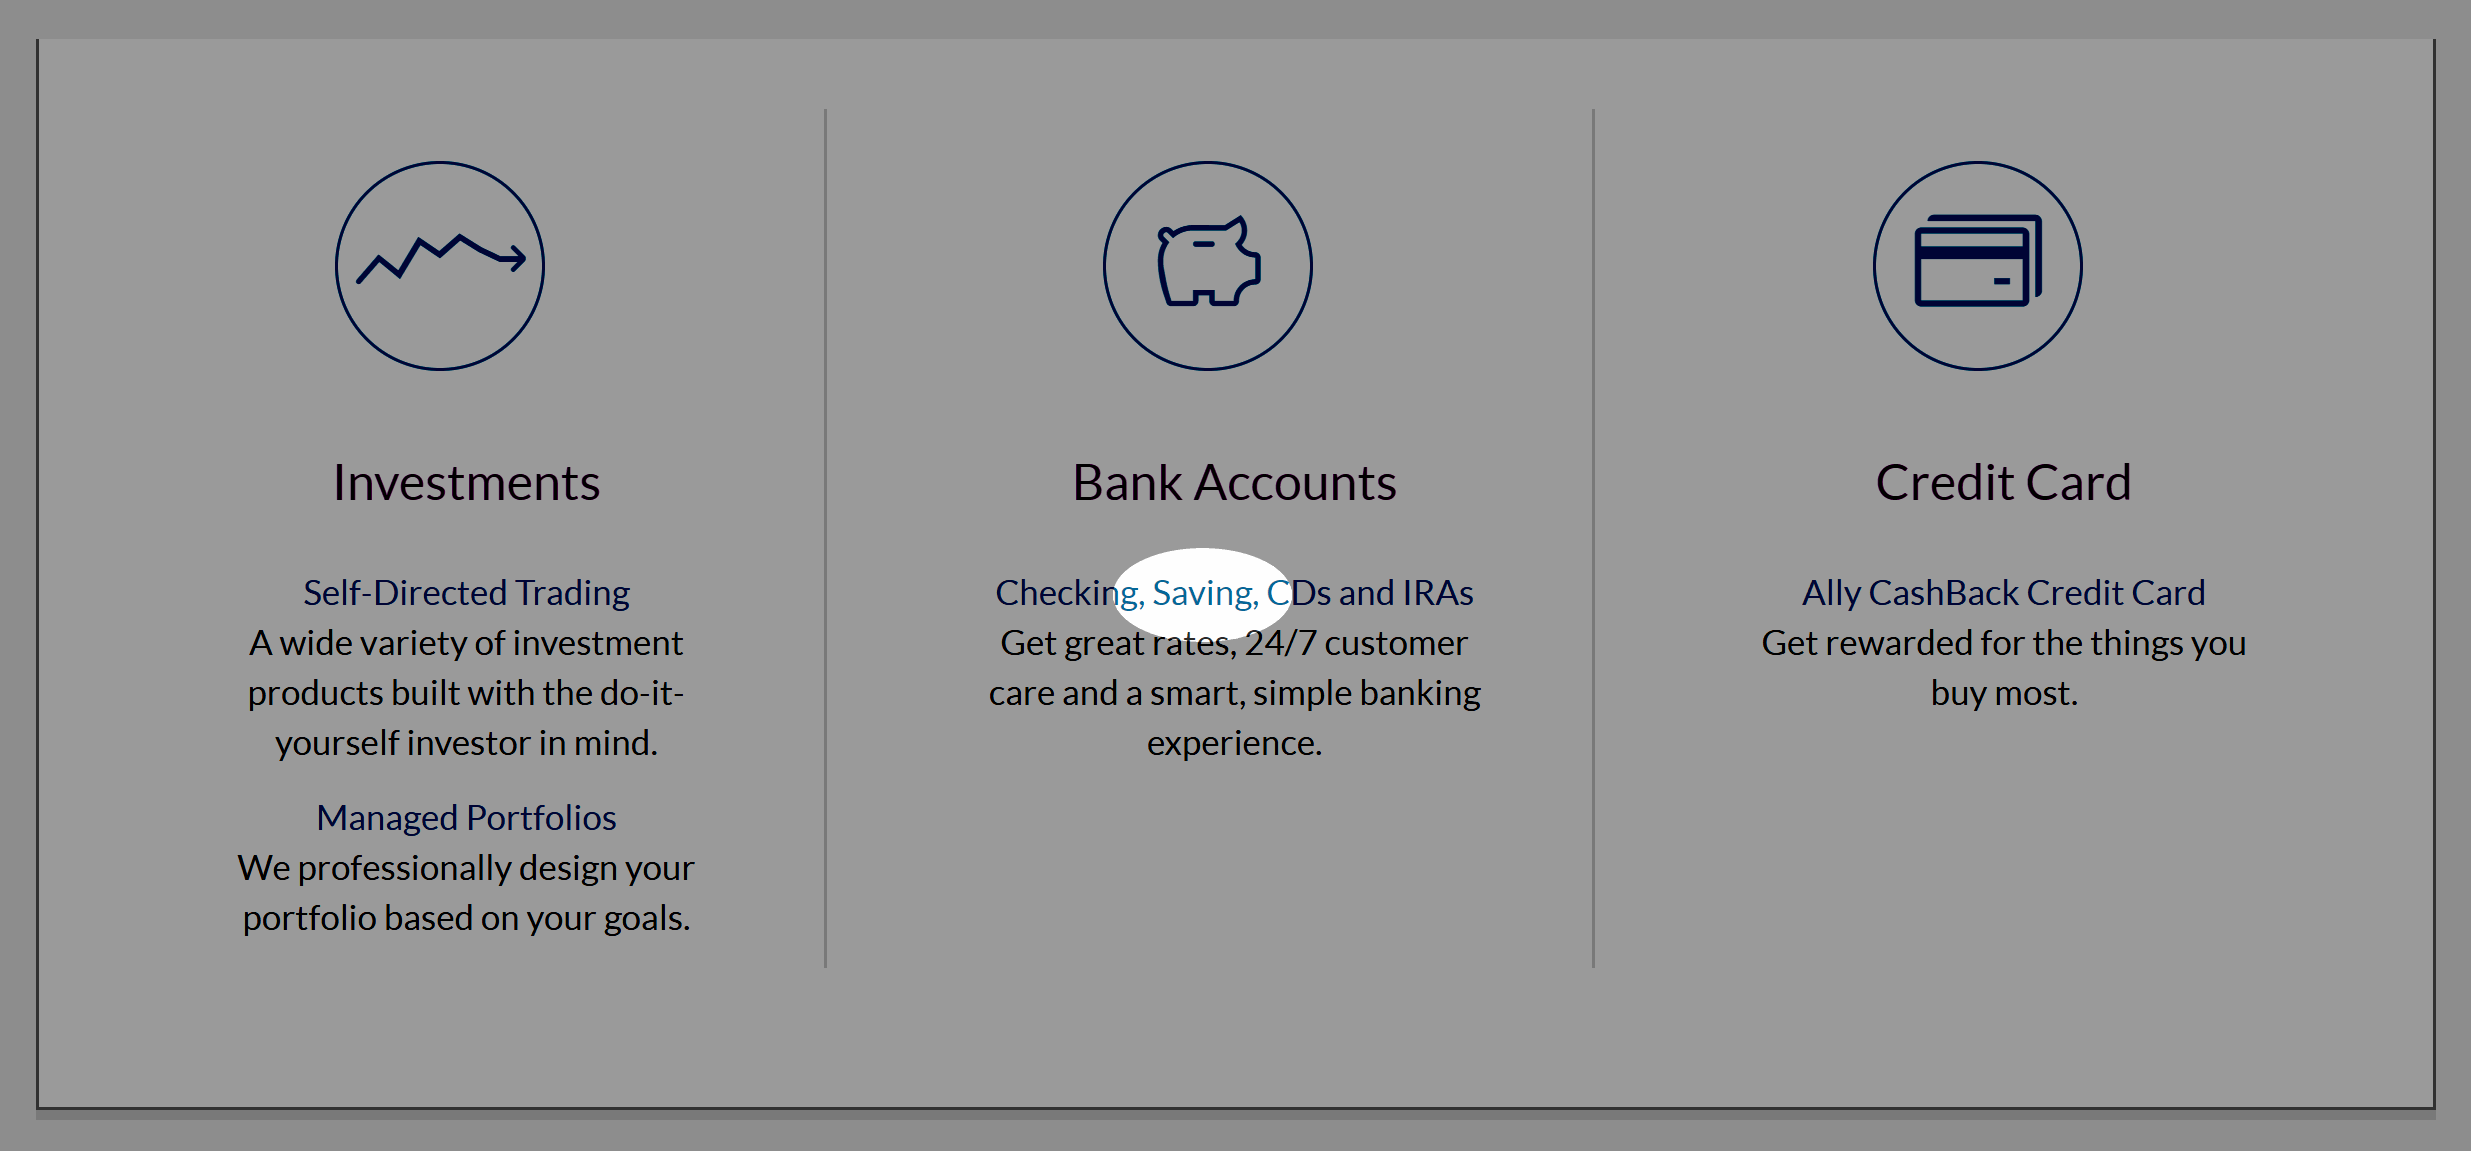
You’re taken to this screen, which looks like an informational page. No “Open an Account” link is here. There’s no wizard stepping you through the process. It’s as if you didn’t have an existing account with them at all. It’s a total user experience fail.

Nevertheless, here’s what you do. Click that really tiny Saving link in the very middle of the page.
This will open another tab in your browser, which will have a Log In button on the top right, as if you’ve logged out!
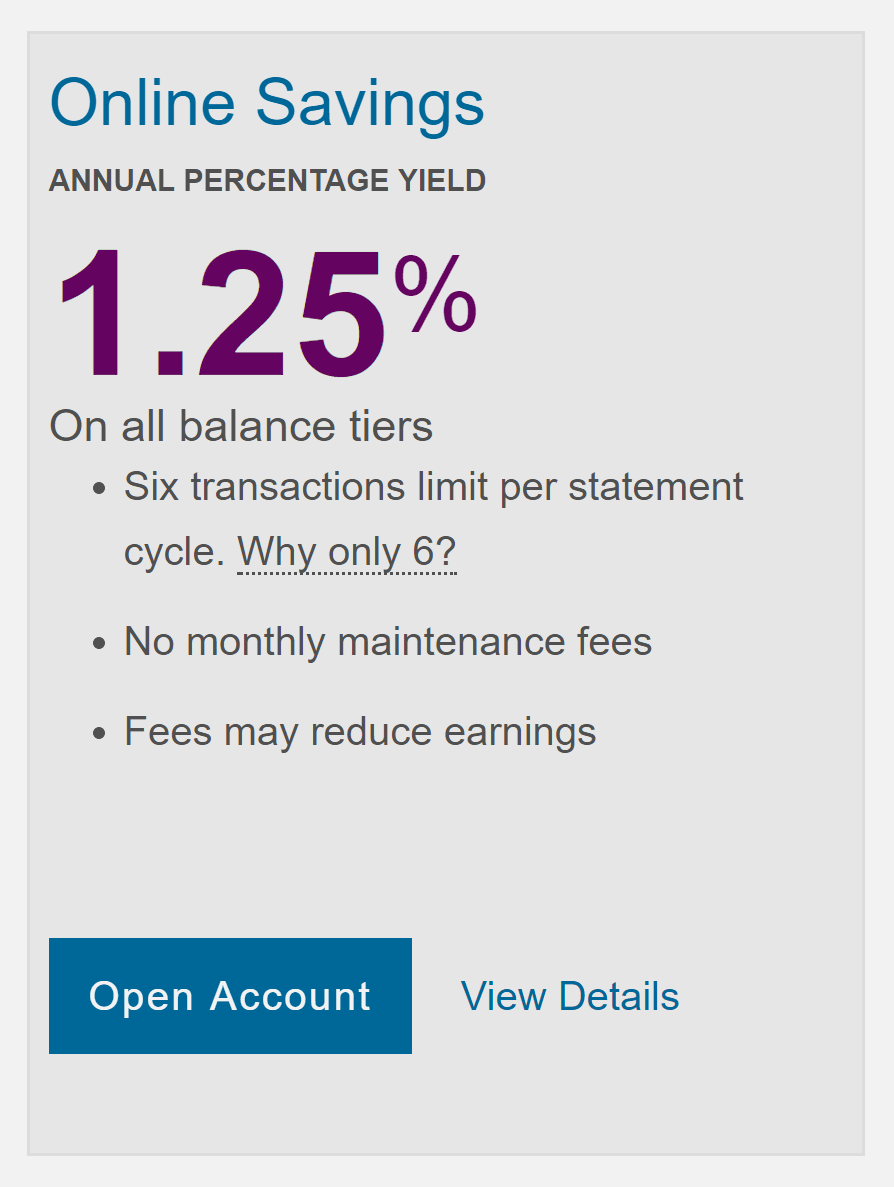
Stay strong, folks. Scroll down to the Online Savings box and click Open Account.
You will see the same six step interface that you saw when you first opened your account. But don’t worry: you won’t have to fill out everything again. Many of the steps are simplified because even though it doesn’t look like it, you are still logged in.
Step 1: Select Start a new application. Sigh.

Step 2: Select Online Savings Account and the amount you wish to start the account with. You can also enter $0.00.

You know, you had probably better create a few extra accounts here while you’re at it. Do you really want to go through this again? You can click Add this product and then go through the wizard again.
Step 3: Select either Individual or Joint account. Same as before, but you wont need to enter any new information beyond this. No need to show a picture of this.
Step 4: Agree to the terms and conditions. You get the point.
Step 5: Select the source of funding for your account. I suggest selecting Add money to new Ally accounts from the same source and Make an online transfer from another bank. You can select your bank account there too.
Step 6: You’ve already created your account, but we have to go through the step anyway. Click Next step.
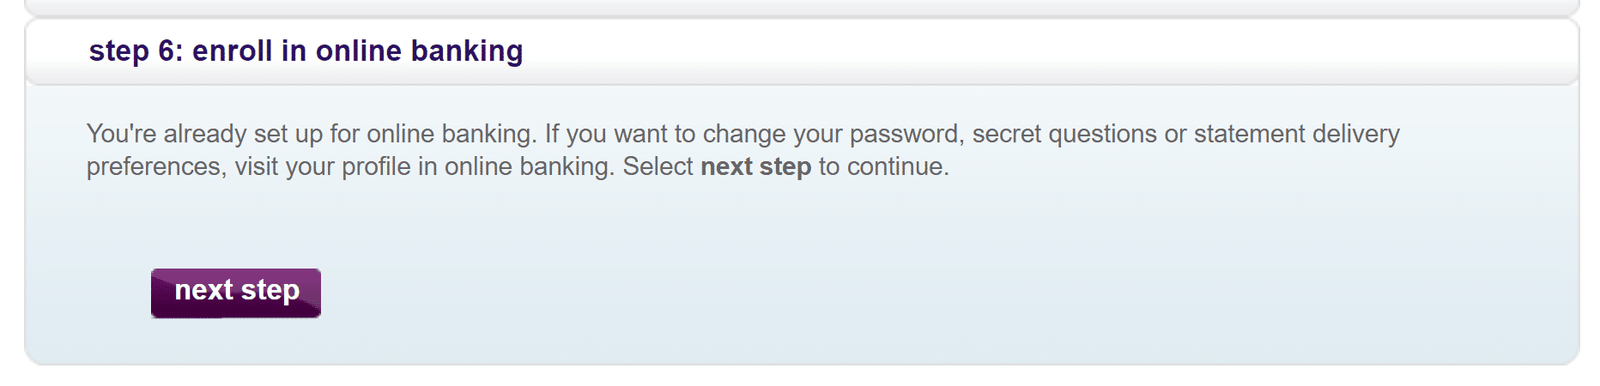
And you’re done! Your additional account(s) are immediately activated, and you can start using them as buckets for whatever savings plans you’ve got.
Thoughts
So far, I’ve been pleased with Ally, though of course, it doesn’t really need to do much. As long as it offers transfers to and from my checking account and the ability to look at a transaction history, that’s pretty much all I need.
Now, all they need to do is fix the pointless need to go through the whole application again just to create an additional savings account. Seriously.